| BustedGear.com |
| Shop | Repairs | Manufacturers | Resources | iFAQs | About |
|
|
|||
| Yamaha® MOTIF 6 and 7 | 2: Replacing the Tactile Switches | ||
|---|---|---|---|
|
Last Page < |
Page Bottom ∨ |
Next Page > |
|
|
|
|||
|
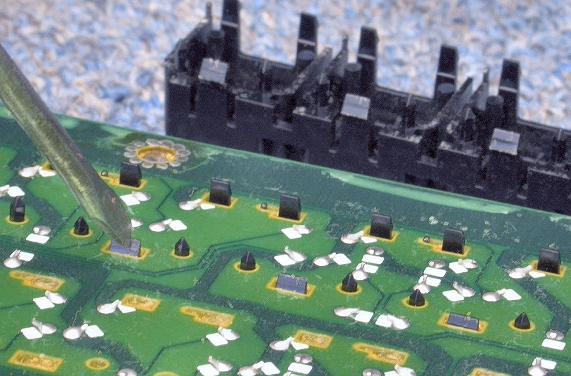
The first step to replacing tactile switches on a MOTIF switch board is to remove the switch knobs. The knobs have locking tabs that hold them to the board. Use your fingernails or a small tool to push the larger tabs inward and down (see photo on the right), unsnapping them from their holes. After the large tabs are free, unsnap the smaller tabs in the same way. On the right-hand switch board, many of the knobs come in blocks of four. On the left-hand board, there are blocks of three. In this photo, one knob block is removed and one is still attached. |
|
|---|---|
|
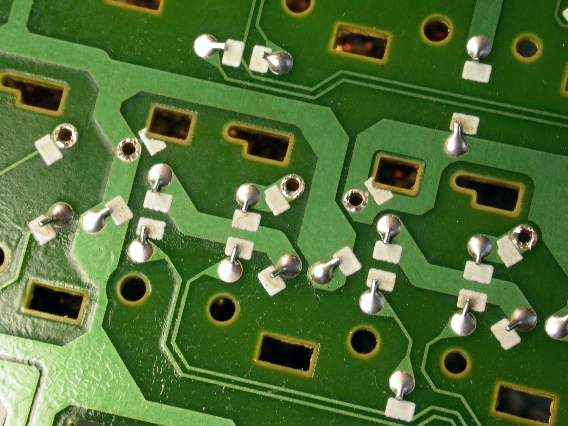
Once the knobs are off, desolder and remove the bad switches. A small jeweler's screwdriver or other soldering aid can help pry up the switch leads while the solder is melted. Clean the solder pads using an acid brush and MEK (methyl ethyl ketone) or other suitable solvent. In this photo, three switches have been removed. |
|
|
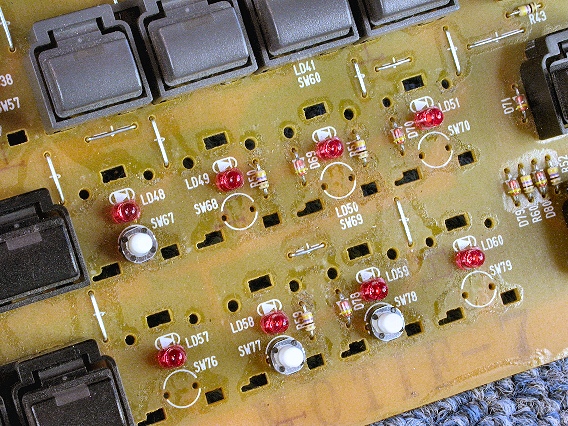
Here you see the right-hand switch board with two knob-blocks and five tactile switches removed. |
|
|
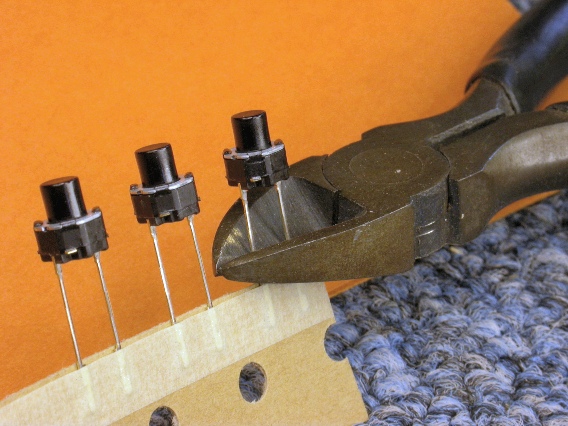
The replacement switches often come attached to sections of cardboard tape, as shown here. Snip the switch leads with a wire cutters to separate them from the tape. |
|
|
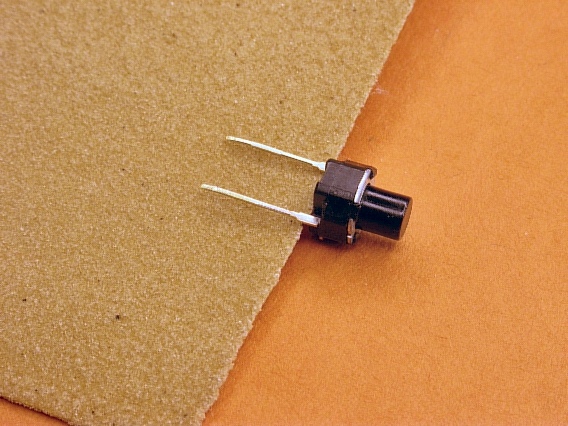
It's a good idea to lightly sand the switch's leads. This removes any tarnish and lets the solder adhere better. Just slide the leads across the edge of a piece of sandpaper. |
|
|
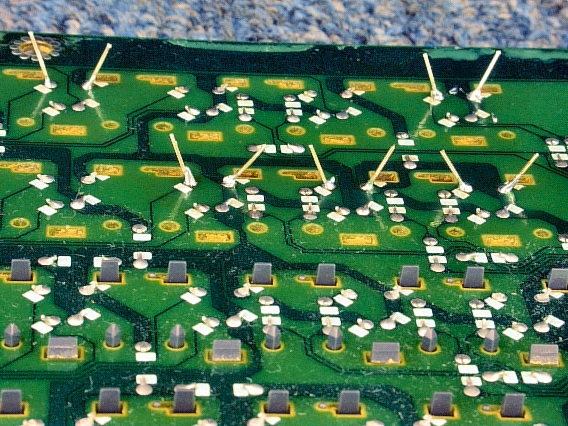
In this photo, five new switches have been soldered to the right-hand switch board. It makes no difference which lead of the switch goes into which hole. Make sure the switches end up perfectly flat against the circuit board: Bend the leads outward as shown so the switch doesn't fall out as you solder one of the two leads. Then remelt the solder as you use your free hand to hold the switch flush against the circuit board. Repeat these two steps with the other switch lead. Finally, trim off the excess lead lengths. |
|
|
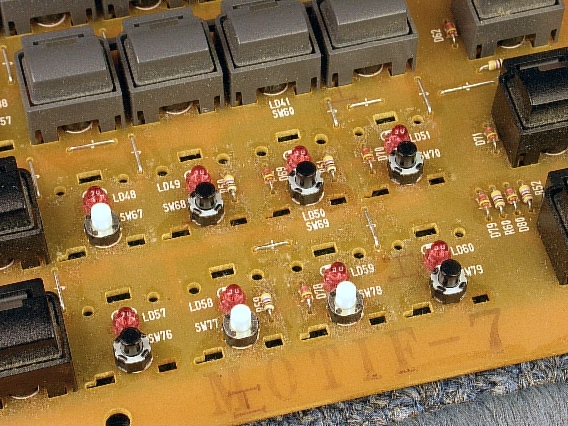
Here you see the top side of the same circuit board and the five newly installed switches (the ones with the black stems). The color of a switch's stem isn't important as long as the switch is otherwise compatible. When reinstalling a knob block, push it straight down, trying to evenly insert all the tabs at once. Some tabs will lock in place first so you can focus on the ones that don't. |
|
| Yamaha® MOTIF 6 and 7 | ||
|---|---|---|
|
Last Page < |
Page Top ∧ |
Next Page > |
|
|
|
|
|
Page design and content Copyright © Richard Diemer - All rights reserved |