| BustedGear.com |
| Shop | Repairs | Manufacturers | Resources | iFAQs | About |
|
|
|||
| Korg® Triton Pro | 2: Computer Cage | ||
|---|---|---|---|
|
Last Page < |
Page Bottom ∨ |
Next Page > |
|
|
|
|||
|
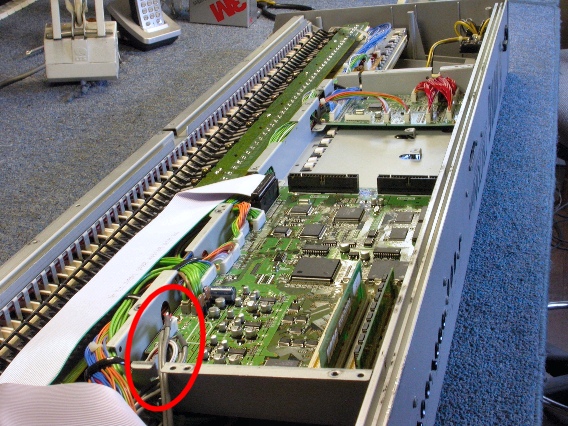
The Triton's computer board assemblies are mounted inside of a metal shielding cage or chassis. This step involves getting that whole cage out of the way so we can remove the keyboard assembly and the remaining circuit boards. Before unscrewing the metal cage, unplug a few cables, two of which are circled in this photo. |
|
|---|---|
|
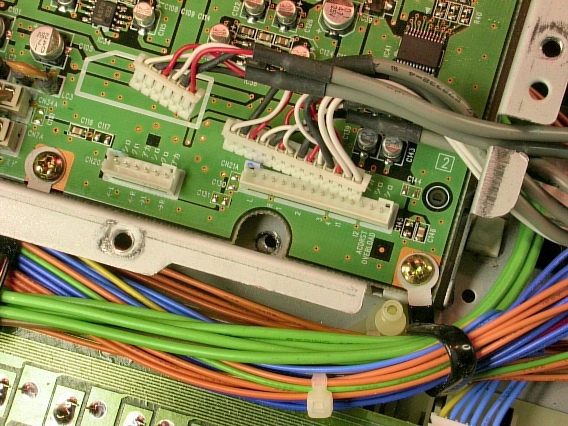
Here they are close up. Also notice a removed screw just below the wider of the two cable headers. This screw will be mentioned in a minute. |
|
|
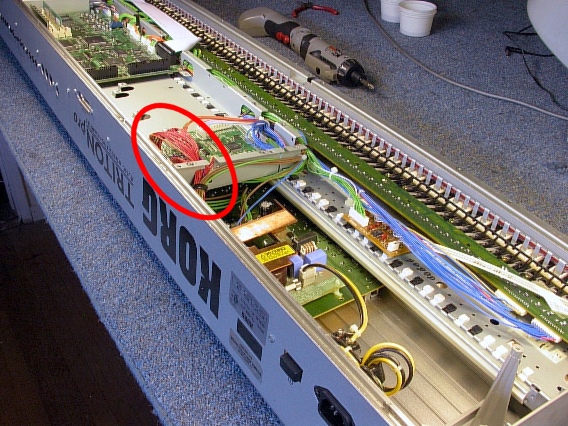
Also unplug the bundle of red cables circled in this photo. |
|
|
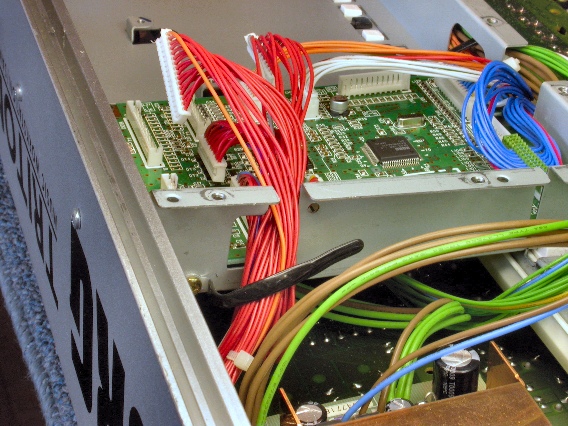
Here you see them close up. There are five connectors to unplug. And on the side of the cage there's a cable clamp. Bend it out straight to free the cables. |
|
|
Now begin detaching the cage by removing screws from the two locations circled in this photo. These screws are two of three bolting the cage to the key frame. |
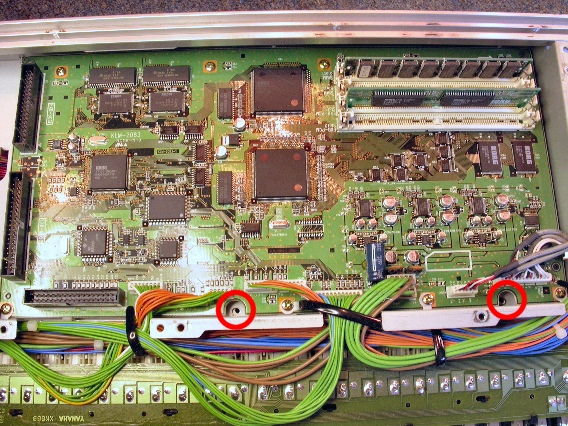
|
|
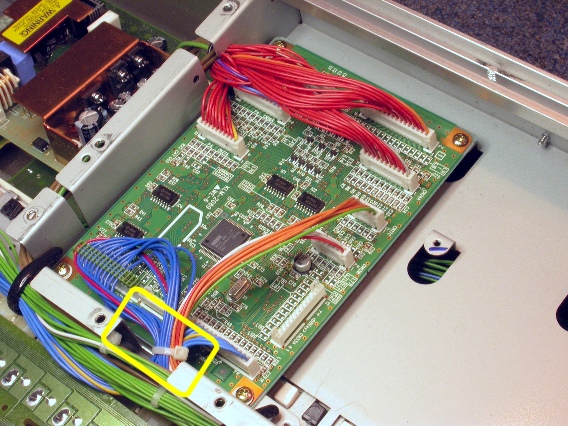
The third key frame screw is hidden beneath the cable tie shown in the lower left of this photo. |
|
|
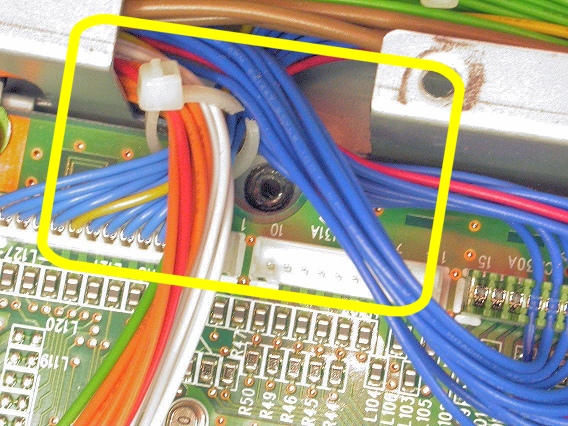
Cut the cable tie and perhaps unplug a connector to get at this screw. |
|
| Korg® Triton Pro | ||
|---|---|---|
|
Last Page < |
Page Top ∧ |
Next Page > |
|
|
|
|
|
Page design and content Copyright © Richard Diemer - All rights reserved |