| BustedGear.com |
| Shop | Repairs | Manufacturers | Resources | iFAQs | About |
|
|
|||
| Casio® Privia® PX-130 | 3: Power Circuit Board | ||
|---|---|---|---|
|
Last Page < |
Page Bottom ∨ |
Next Page > |
|
|
|
|||
|
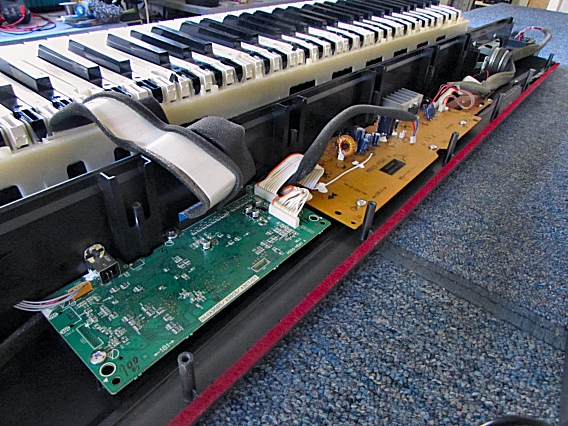
We're now ready to remove the PX-130 circuit board assembly containing the broken power jack. |
|
|---|---|
|
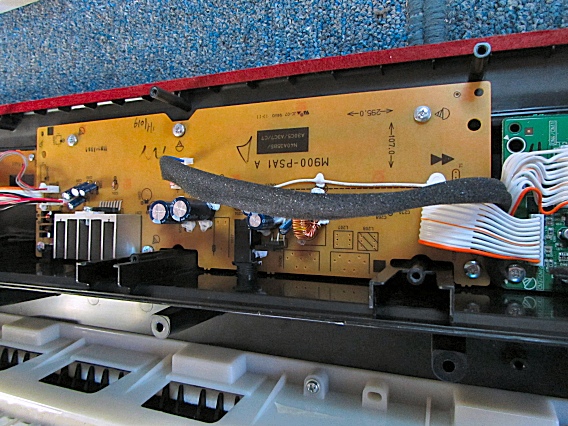
Here you see the circuit board ‒ it contains the power supply and the audio amplifier. |
|
|
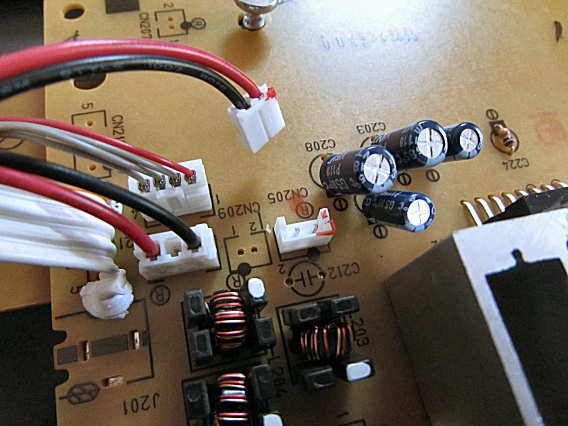
To gain access to the foil side of the circuit board, disconnect three cables. First, disconnect CN205, shown here. |
|
|
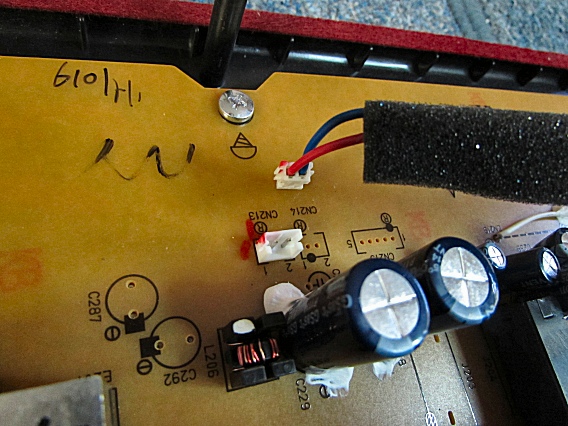
Then disconnect CN213, shown here. |
|
|
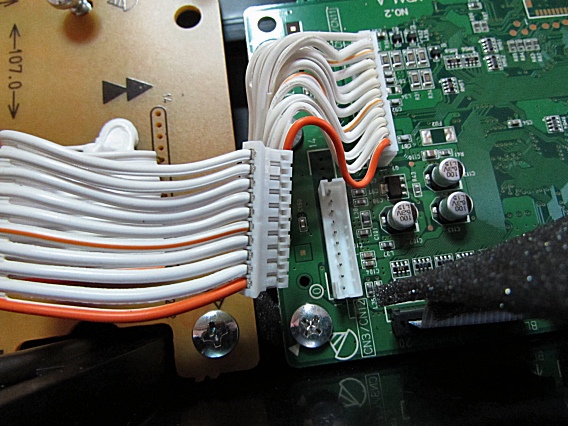
Finally, disconnect CN202, shown here. |
|
|
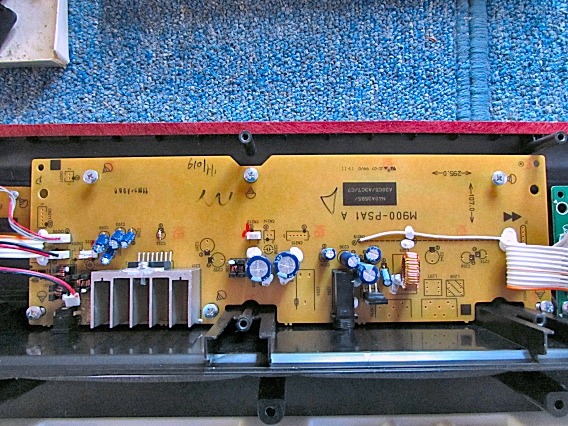
After disconnecting the cables, remove the six silver screws holding down the circuit board (right). |
|
|
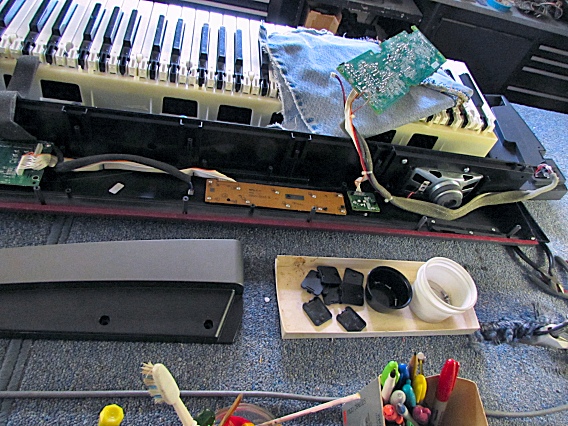
Now you can swing the circuit board into a position that's convenient for servicing. |
|
| Casio® Privia® PX-130 | ||
|---|---|---|
|
Last Page < |
Page Top ∧ |
Next Page > |
|
|
|
|
|
Page design and content Copyright © Richard Diemer - All rights reserved |