| BustedGear.com |
| Shop | Repairs | Manufacturers | Resources | iFAQs | About |
|
|
|||
| Vox AD50VT Valvetronix | 1: Disassembly | ||
|---|---|---|---|
|
Last Page < |
Page Bottom ∨ |
Next Page > |
|
|
|
|||
|
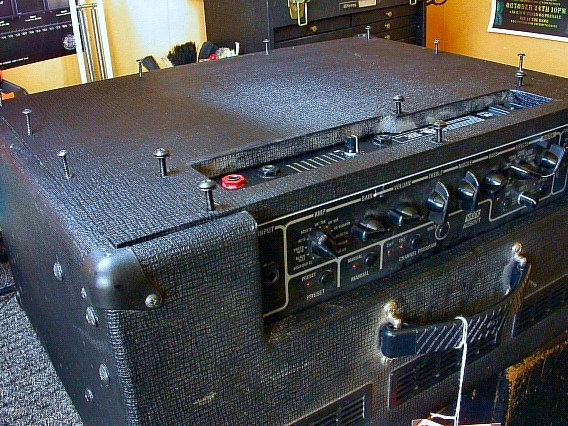
The first step in disassembling a Vox AD50 is to remove the back panel. Take out all the back panel screws. |
|
|---|---|
|
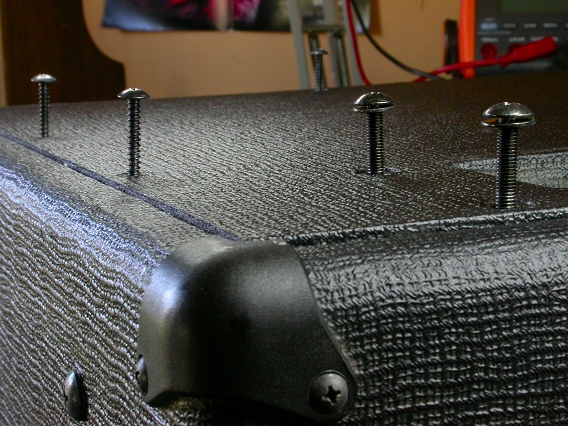
Eight wood screws attach the panel to the cabinet. Six machine screws attach it to the electronics chassis. After all 14 screws are out, pry off the rear panel using a blade screwdriver. |
|
|
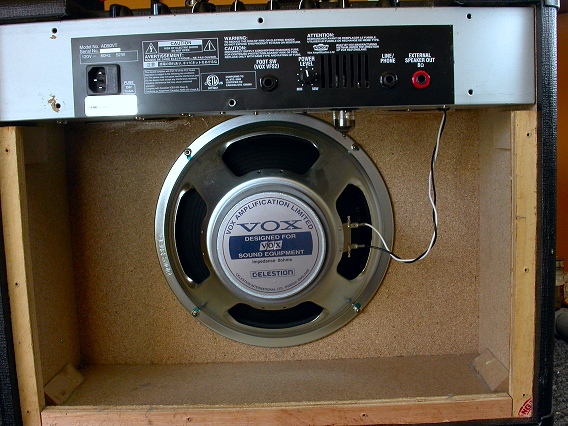
With the back removed, the speaker and the vacuum tube are accessible. We swapped the type 12AX7 tube with one known to be good, but there was still no sound from this amp. |
|
|
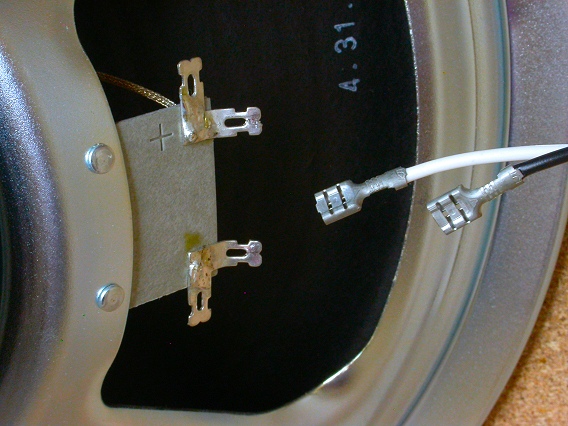
We then disconnected the speaker. Use two hands to separate a female disconnect from a male tab. Hold the fiberboard and tab with one hand while you wiggle off the disconnect. A needle nose pliers is great for wiggling. A multimeter showed the speaker's DC resistance to be about 6 ohms. This is normal for a speaker whose AC impedance is 8 ohms. |
|
|
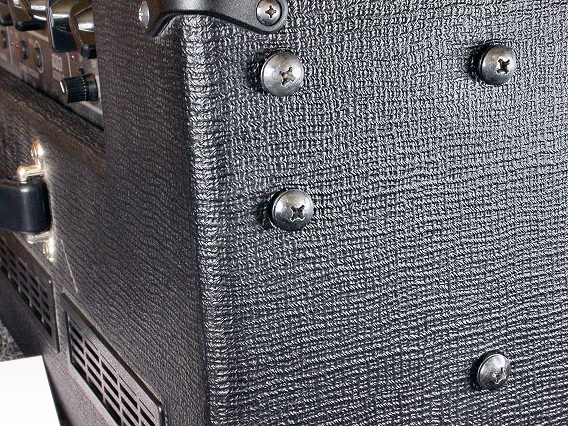
Since neither the vacuum tube nor the speaker was the problem, we proceeded to remove the electronics chassis. The chassis is attached with eight machine screws, four on each side of the cabinet. |
|
|
Here's the Vox AD50 chassis. We inspected the main circuit board and found a power resistor (right) whose leads had broken loose from the soldering on the underside of the board. To fix the soldering, we had to detach the heat sink and circuit board assembly from the chassis. |

|
| Vox AD50VT Valvetronix | ||
|---|---|---|
|
Last Page < |
Page Top ∧ |
Next Page > |
|
|
|
|
|
Page design and content Copyright © Richard Diemer - All rights reserved |