| BustedGear.com |
| Shop | Repairs | Manufacturers | Resources | iFAQs | About |
|
|
|||
| Moog® Micromoog | 3: Key Repair & Tuning | ||
|---|---|---|---|
|
Last Page < |
Page Bottom ∨ |
Next Page > |
|
|
|
|||
|
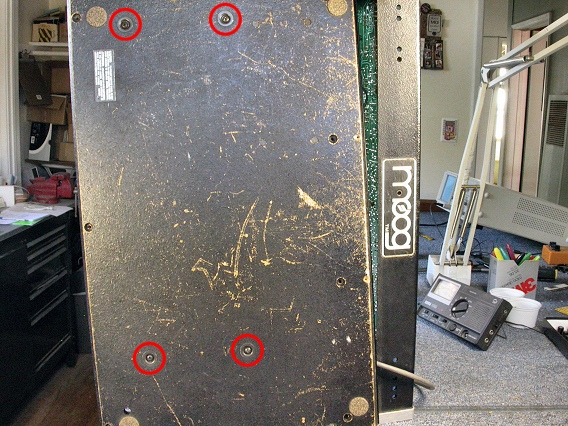
To remove the Micromoog's keyboard assembly, take out the four screws shown circled in this photo. The 2 front screws are self-tapping and mount to #8A speed nuts on the front lip of the keyboard assembly. The 2 rear screws are #8-32 x 3/4" machine screws with split-ring lock washers. All 4 screws use cup washers. |
|
|---|---|
|
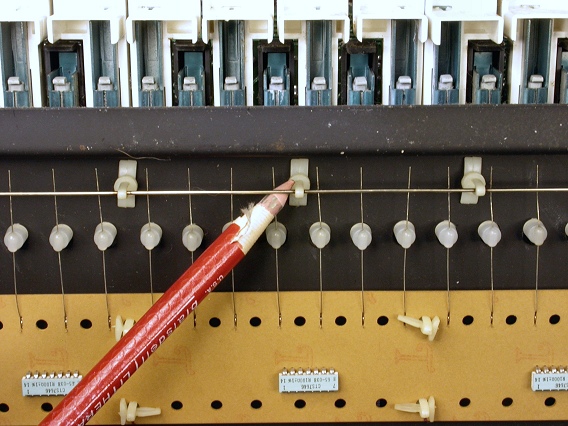
On the underside of the keyboard, use a stick eraser to rub dirt and oxidation off of the buss rod and the "J-wires" that contact it. You can do this with the synth turned on, so you can hear when intermittent notes are cleaned up. If the buss rod is heavily oxidized you can bend a J-wire a bit to the side so it contacts a different spot on the rod. |
|
|
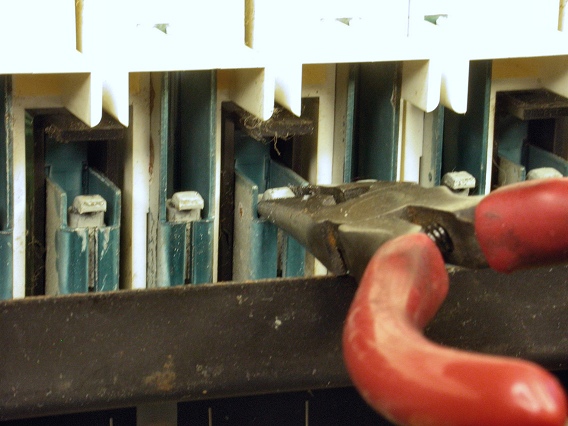
Sometimes a key guide will be bent and rub against a key's metal frame, causing a slow or sticking action. In this case, use a needle nose pliers to straighten the guide. |
|
|
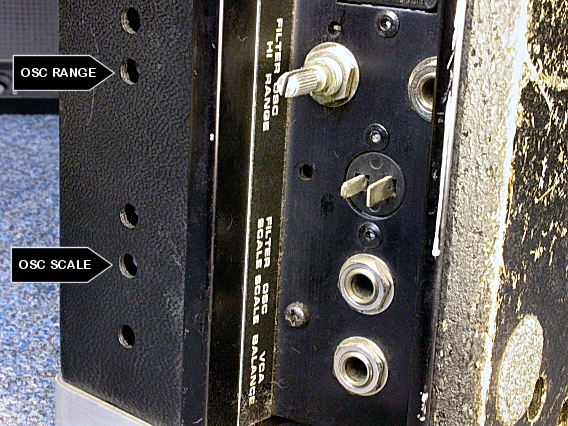
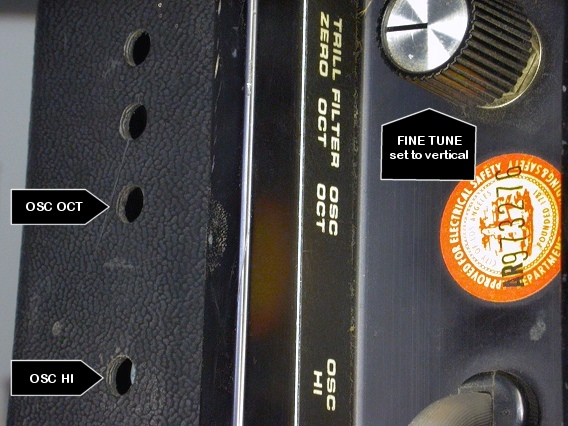
Micromoog Oscillator Adjustment Tuning and scaling of the Micromoog is fairly easy. Start by setting the top panel knobs and switches as shown here. Unmarked controls are either unimportant or detailed in the following steps. |

|
|
|
|
|
| Moog® Micromoog | ||
|---|---|---|
|
Last Page < |
Page Top ∧ |
Next Page > |
|
|
|
|
|
Page design and content Copyright © Richard Diemer - All rights reserved |