| BustedGear.com |
| Shop | Repairs | Manufacturers | Resources | iFAQs | About |
|
|
|||
| Korg® KARMA® | 1: Removing the Keyboard Assembly | ||
|---|---|---|---|
|
Last Page < |
Page Bottom ∨ |
Next Page > |
|
|
|
|||
|
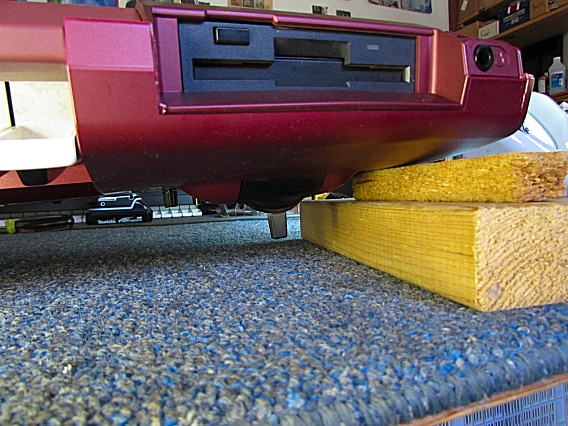
The first step in taking out the Karma's keyboard assembly is to remove the bottom cover, or tray, from the unit. Turn the Karma over but take care not to harm its pitch/modulation lever. Here you see the left end of the keyboard propped up by wooden blocks to prevent breaking the lever.
|
|
|---|---|
|
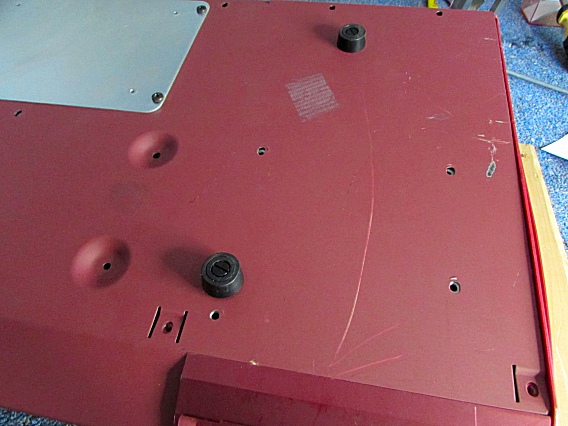
On the bottom, take out all the screws except for (1) those screws that attach the feet, and (2) two screws that attach the expansion cover [right]. The photo shows the left (bass) end of the bottom tray with all its attachment screws removed. Some of the bottom screws (the ones using the recessed holes) attach the keyboard assembly to the tray. As a result, the keyboard assembly will be partially loose when you lift off the tray. |
|
|
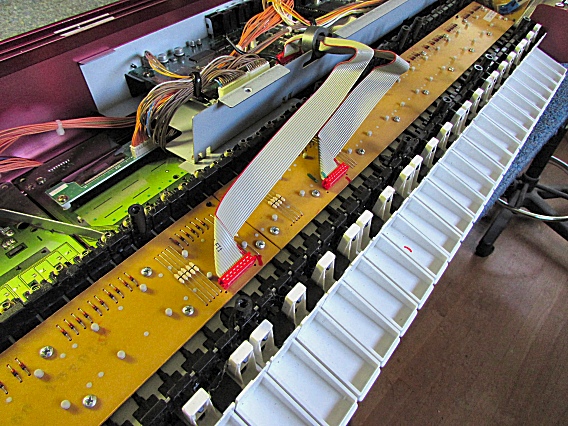
Here you see the inside of the Karma after lifting off the bottom tray. You'll see two ribbon cables that connect the Karma's keyboard assembly to its computer board. |
|
|
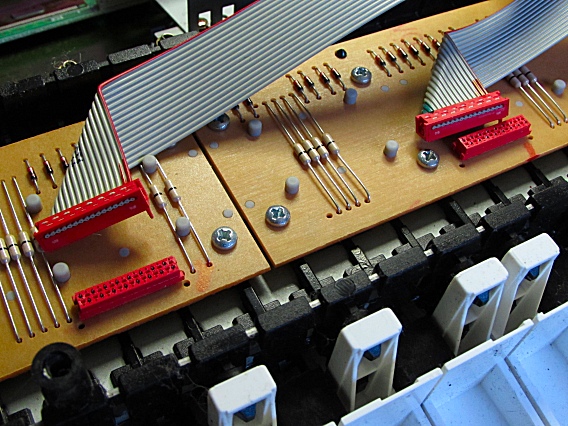
Unplug the two keyboard cables as shown here. |
|
|
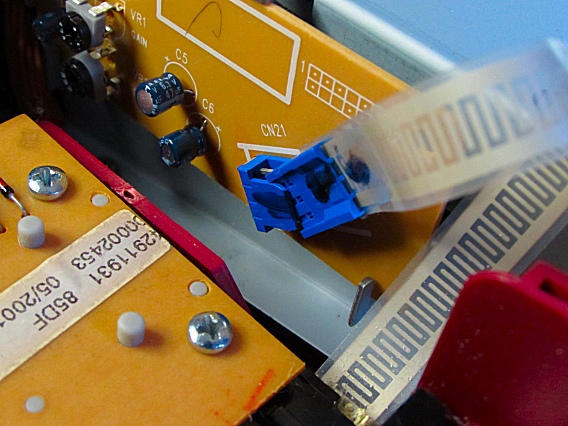
In addition, unplug the keyboard's after-touch strip from its connecting jack on the bass end of the keyboard as shown here. |
|
|
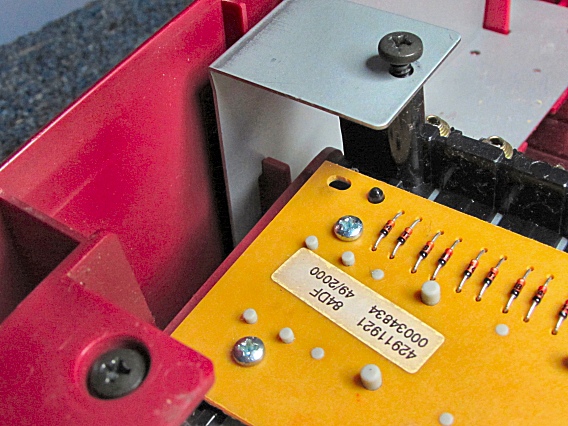
Next, remove two screws near the right (treble) end of the keyboard. This photo shows you the two screws. The rear screw is partially backed out of its plastic mounting post. These are the last two screws holding in the keyboard assembly. After removal, the keyboard can be lifted out of the Karma's shell. |
|
| Korg® KARMA® | ||
|---|---|---|
|
Last Page < |
Page Top ∧ |
Next Page > |
|
|
|
|
|
Page design and content Copyright © Richard Diemer - All rights reserved |